Amazon EMR on EC2
Amazon EMR on EC2
VPC 생성
1. VPC를 생성합니다.
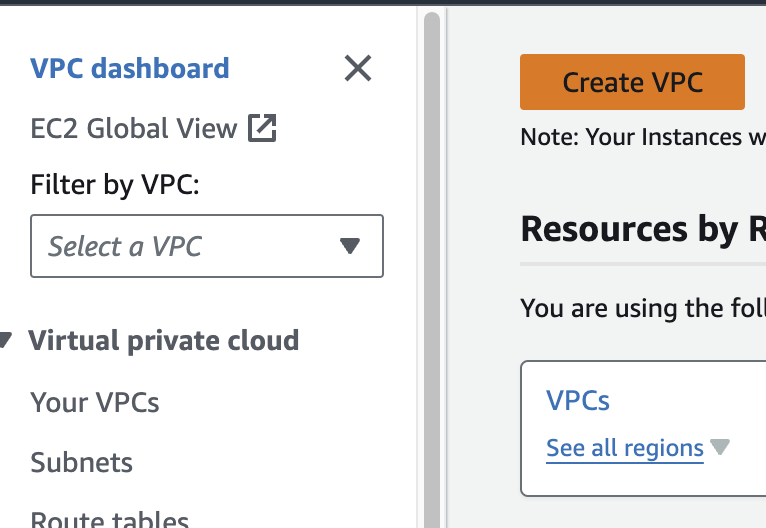
다른 모든 사항은 기본값으로 하여 Name만 지정해주었습니다.

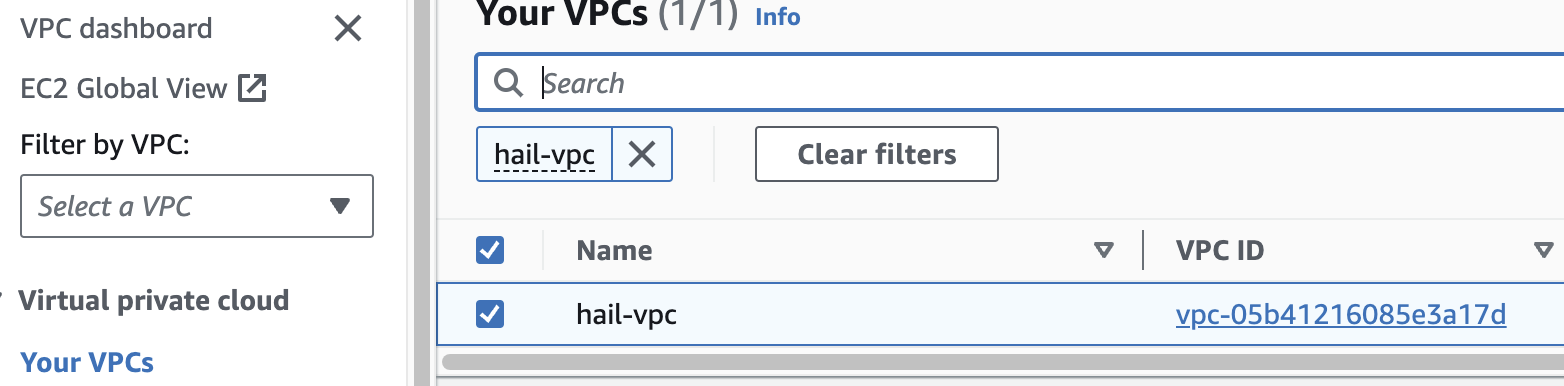
VPC 생성 확인
만들어진 hail-vpc 이름의 VPC ID 를 확인합니다.
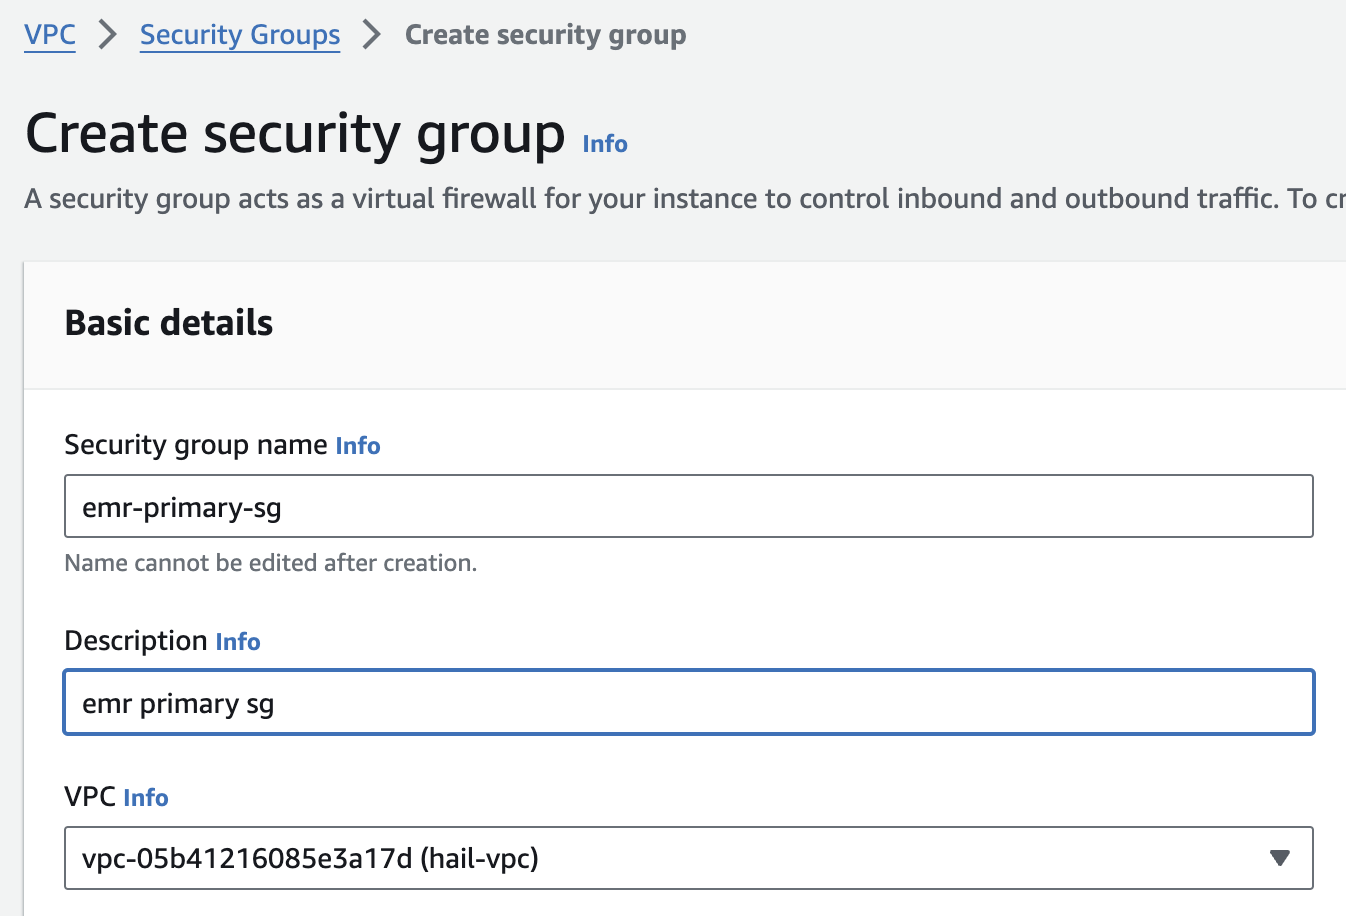
2. 보안 그룹을 2개 생성합니다. 이때 앞에서 만든 VPC를 선택해야 합니다.
여기서는 emr-primary-sg 와 emr-core-sg 로 이름을 지정했습니다.
AWS CloudFormation 을 사용하는 방법도 있습니다. 여기를 참고하세요.
EMR 생성
클러스터 생성
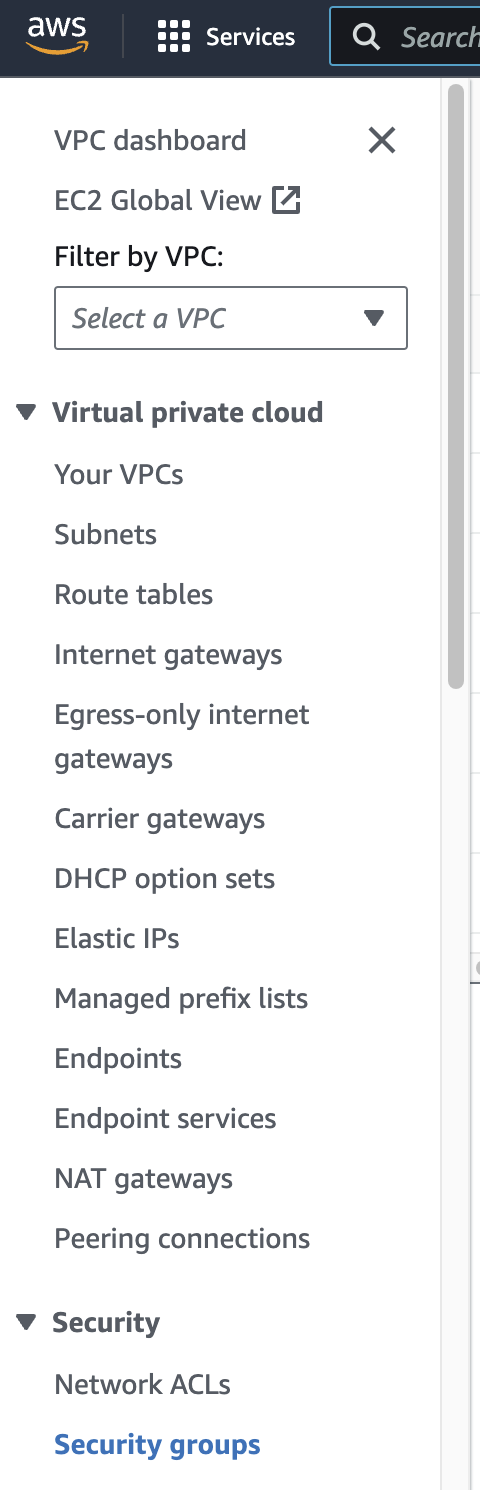
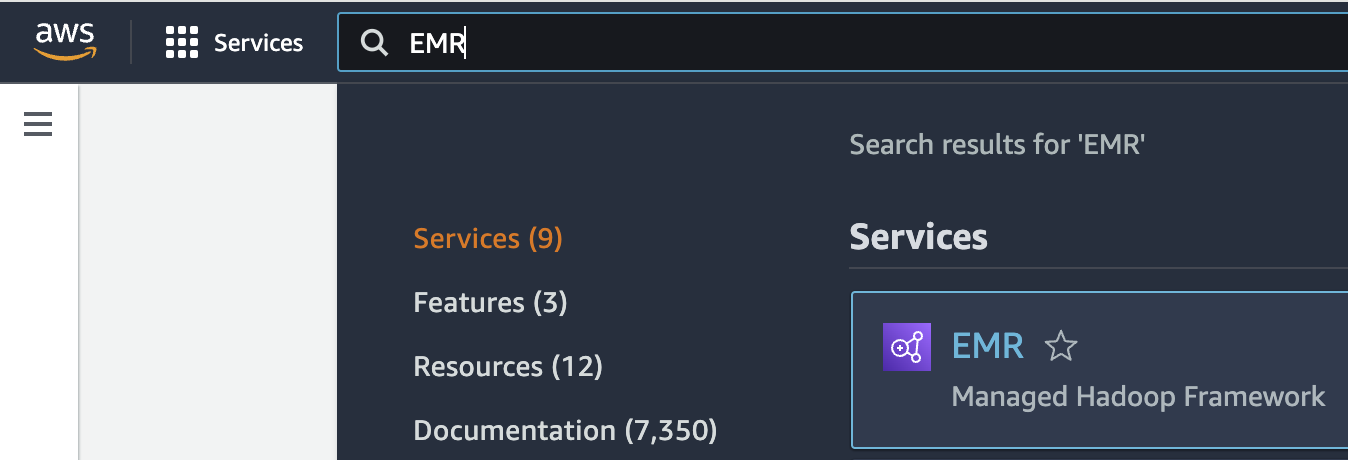
1. EMR 콘솔로 접속합니다.
2. EMR on EC2 > Clusters 메뉴를 선택하고 클러스터를 새로 생성합니다.
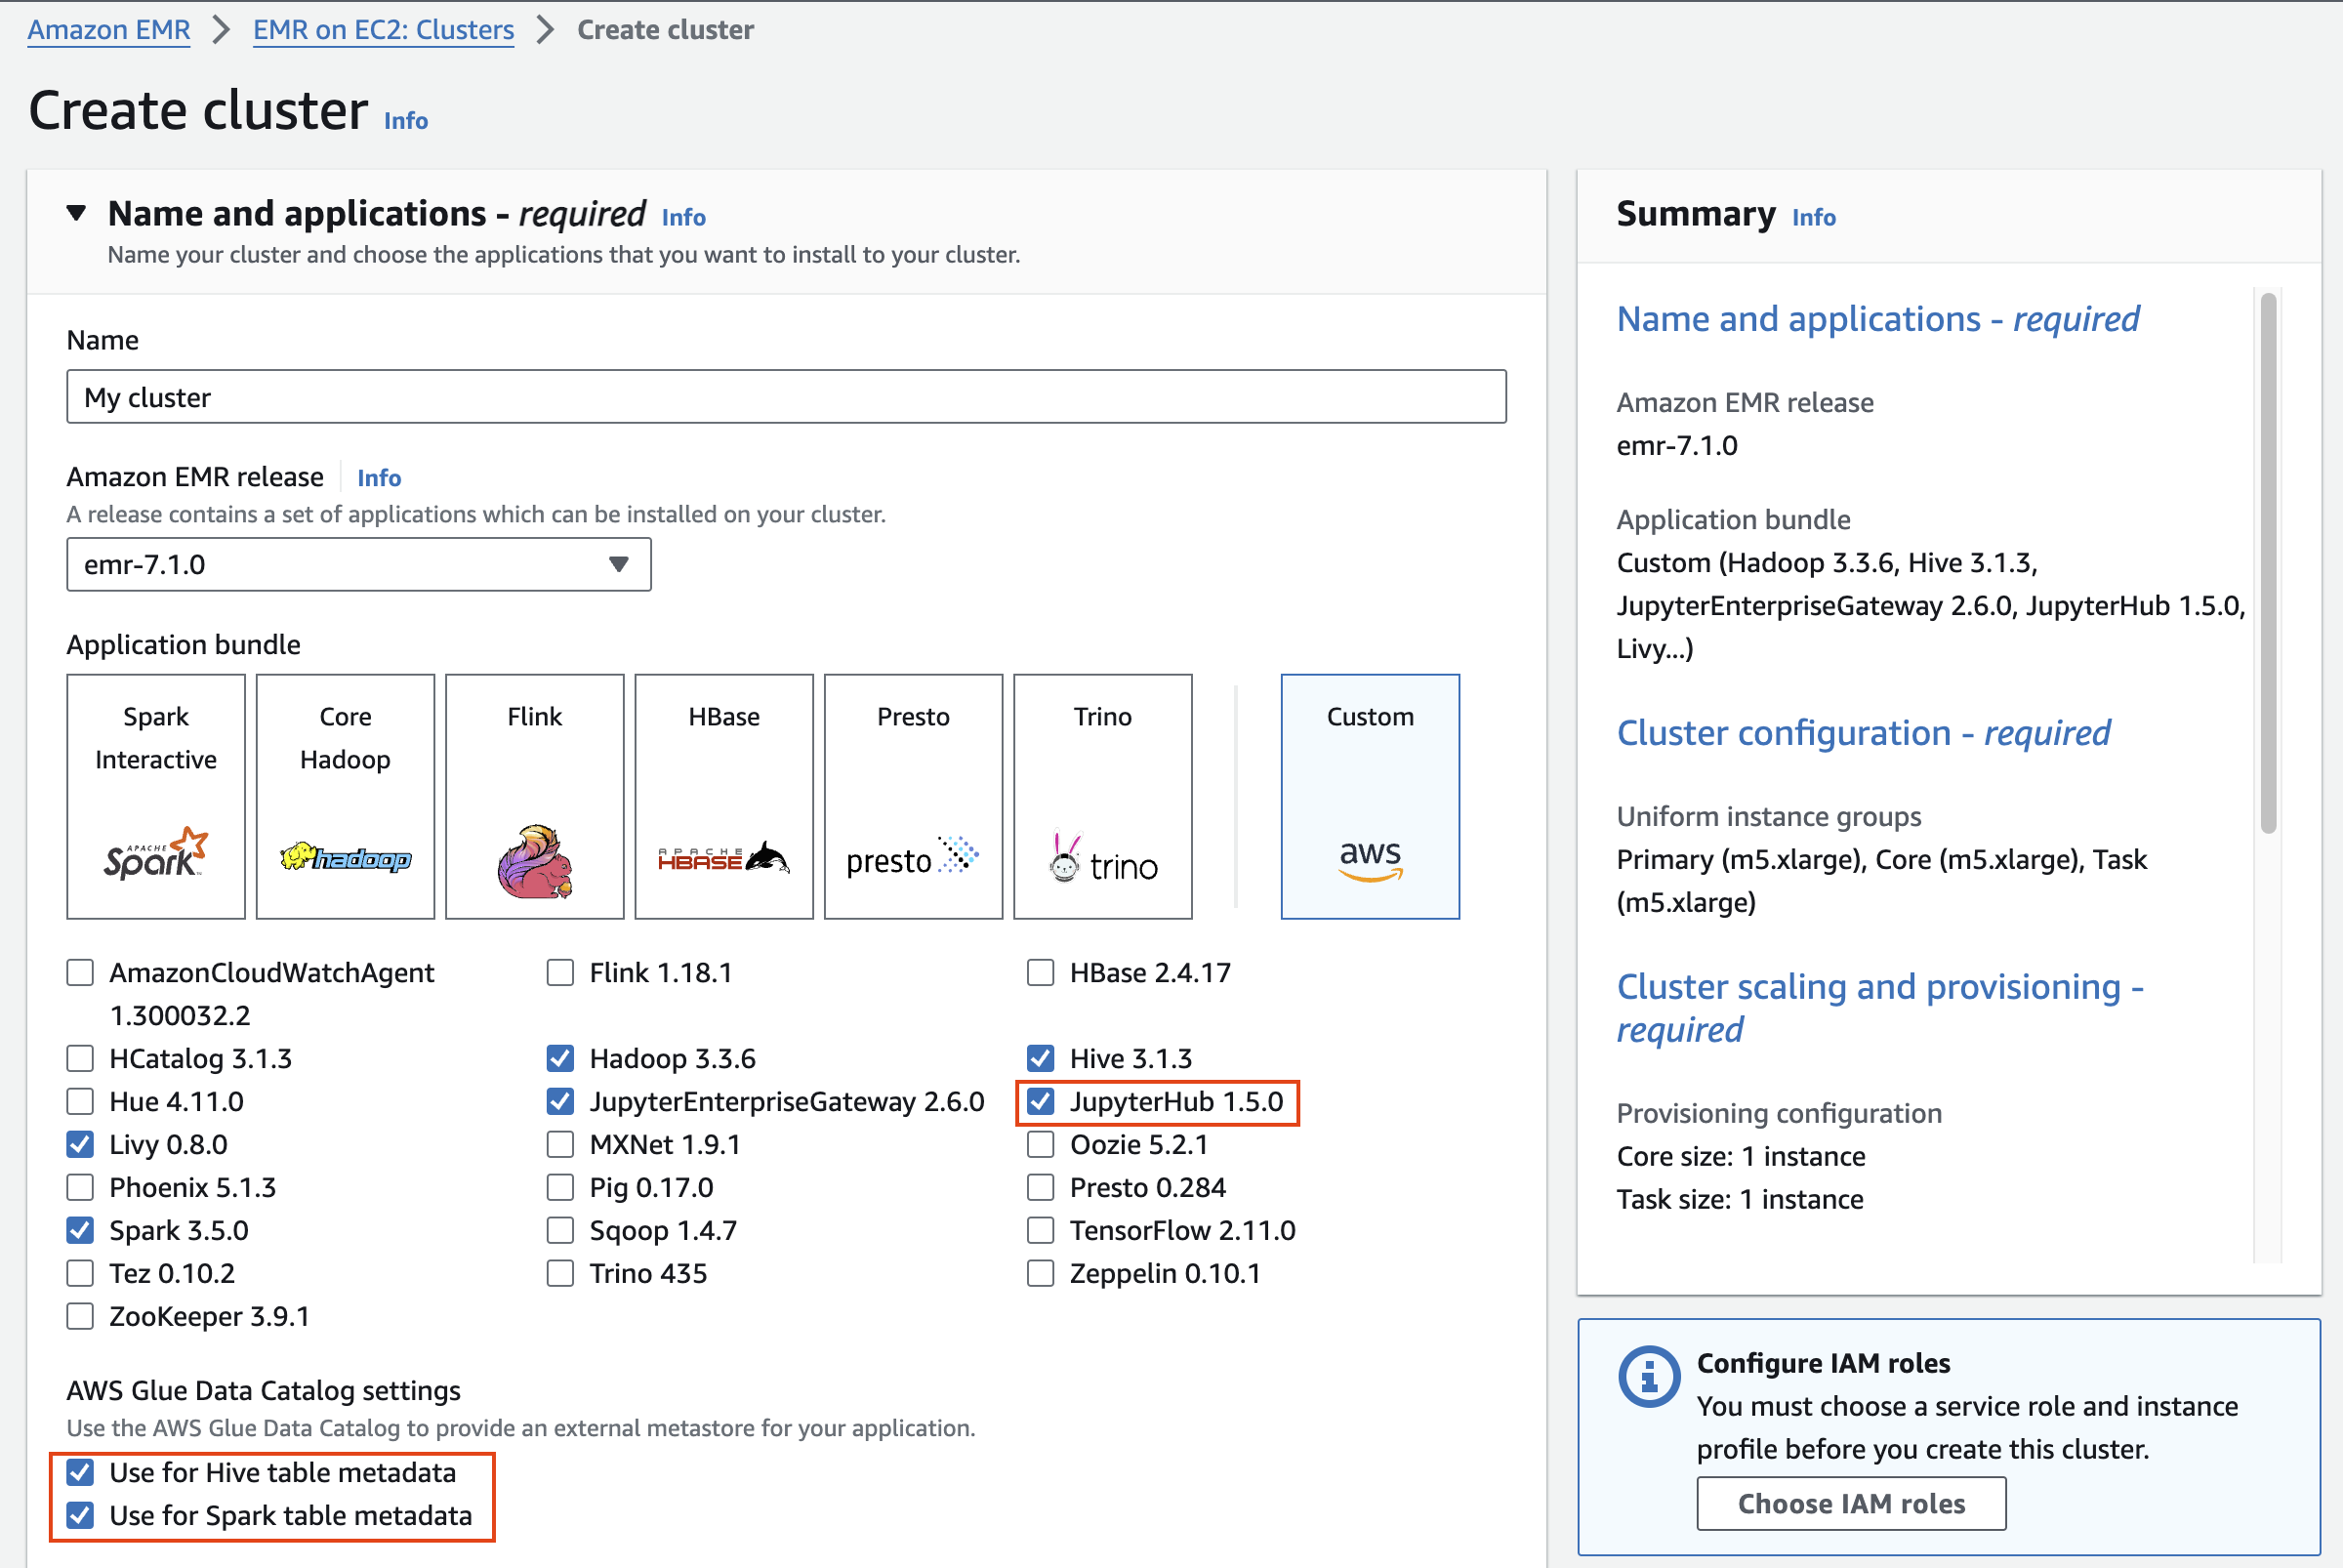
Name and applications
Application기본bundle은 Custom 을 선택된 Application bundle 이외에 JupyterHub 1.5.0를 선택했습합니다.
그리고
| Option | Configuration |
|---|---|
| Release | emr-7.1.0 |
| Software | *Hadoop, Hive, Spark, Livy and JupyterHub, JupyterEnterpriseGateway |
| Multi-master support | Leave as deafult |
| AWS Glue Data Catalog Settings | Select 1. Use for Hive table 2. Use for Spark table metadata |
| Amazon Linux Release | Leave as deafult |
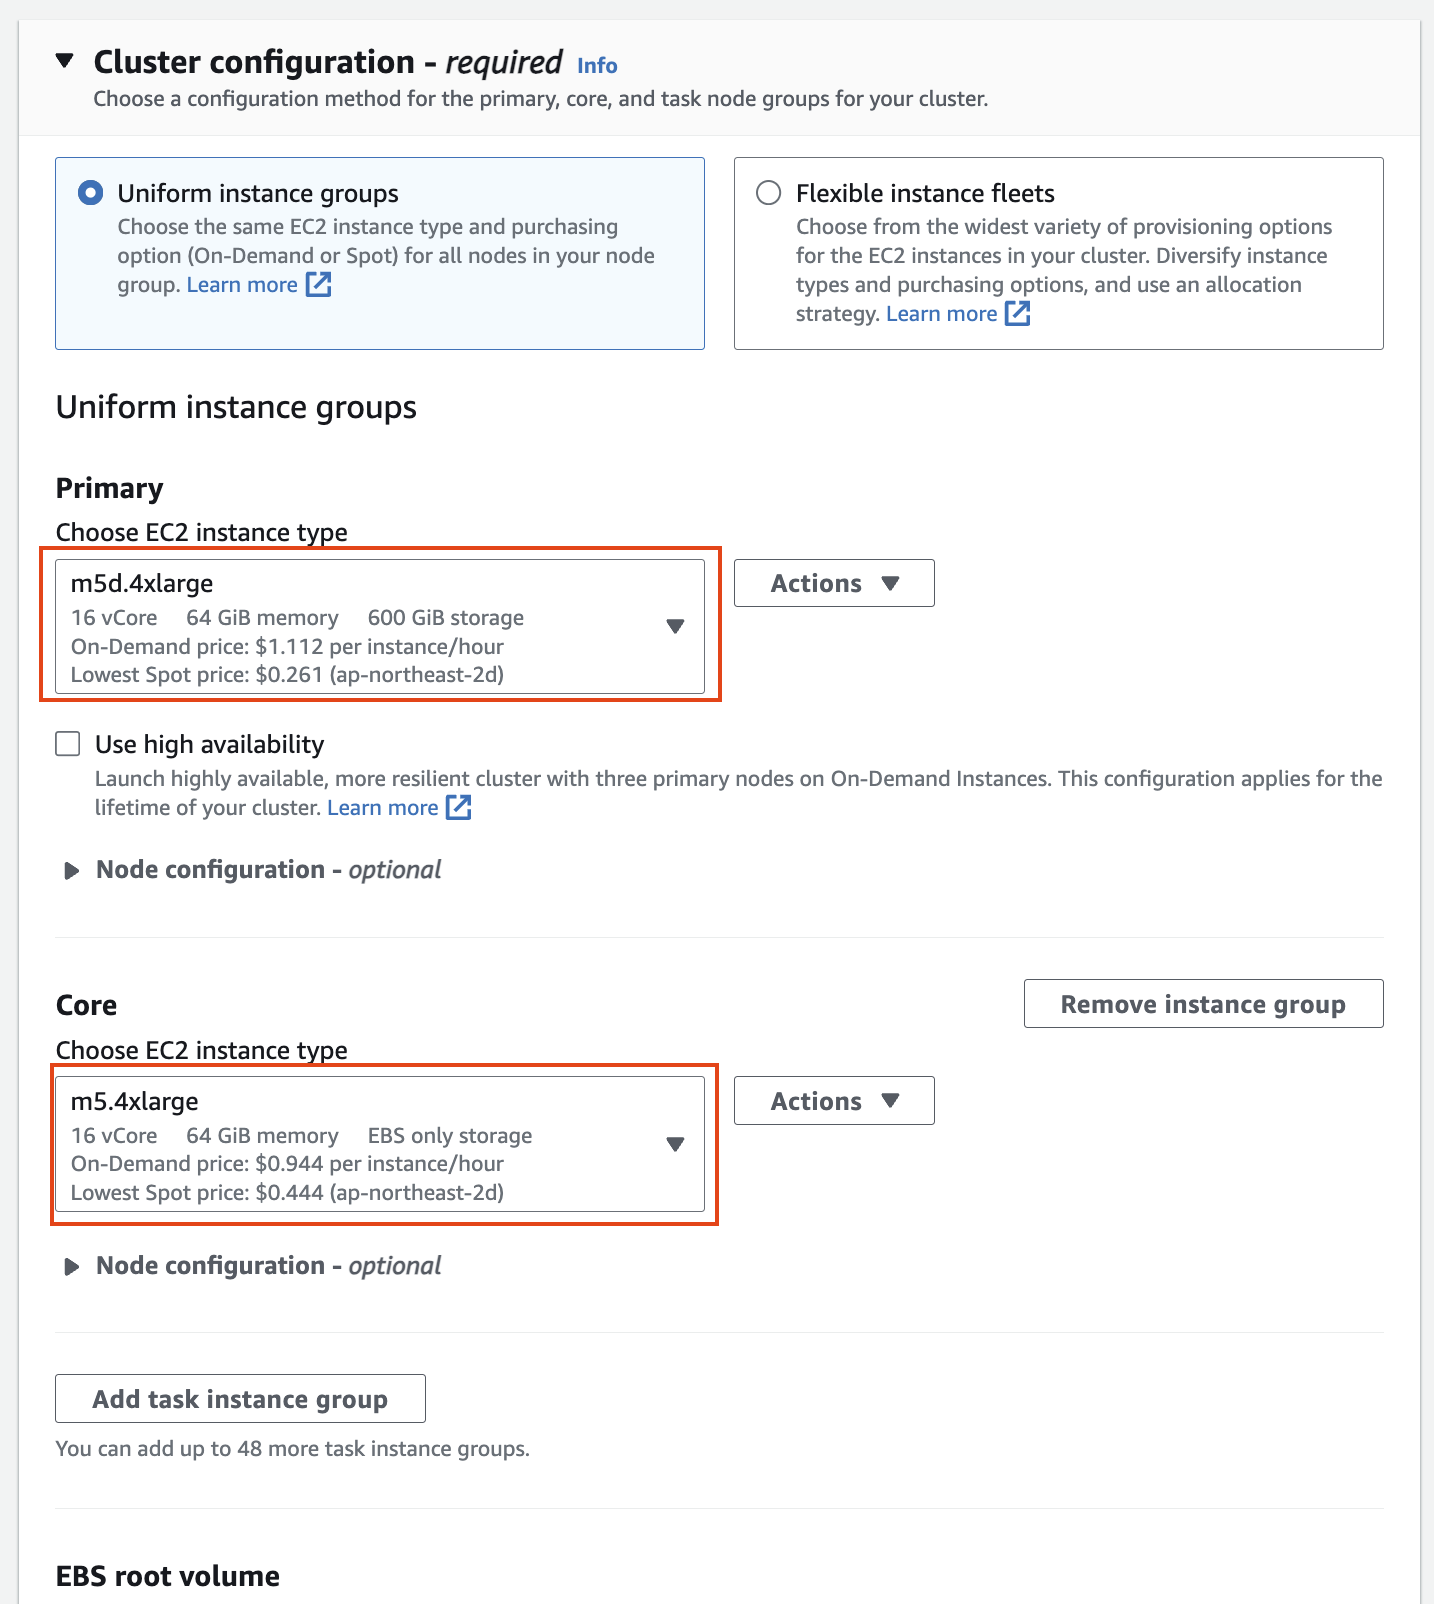
Cluster configuration
Cluster configuration 에서 Task 노드는 삭제합니다.
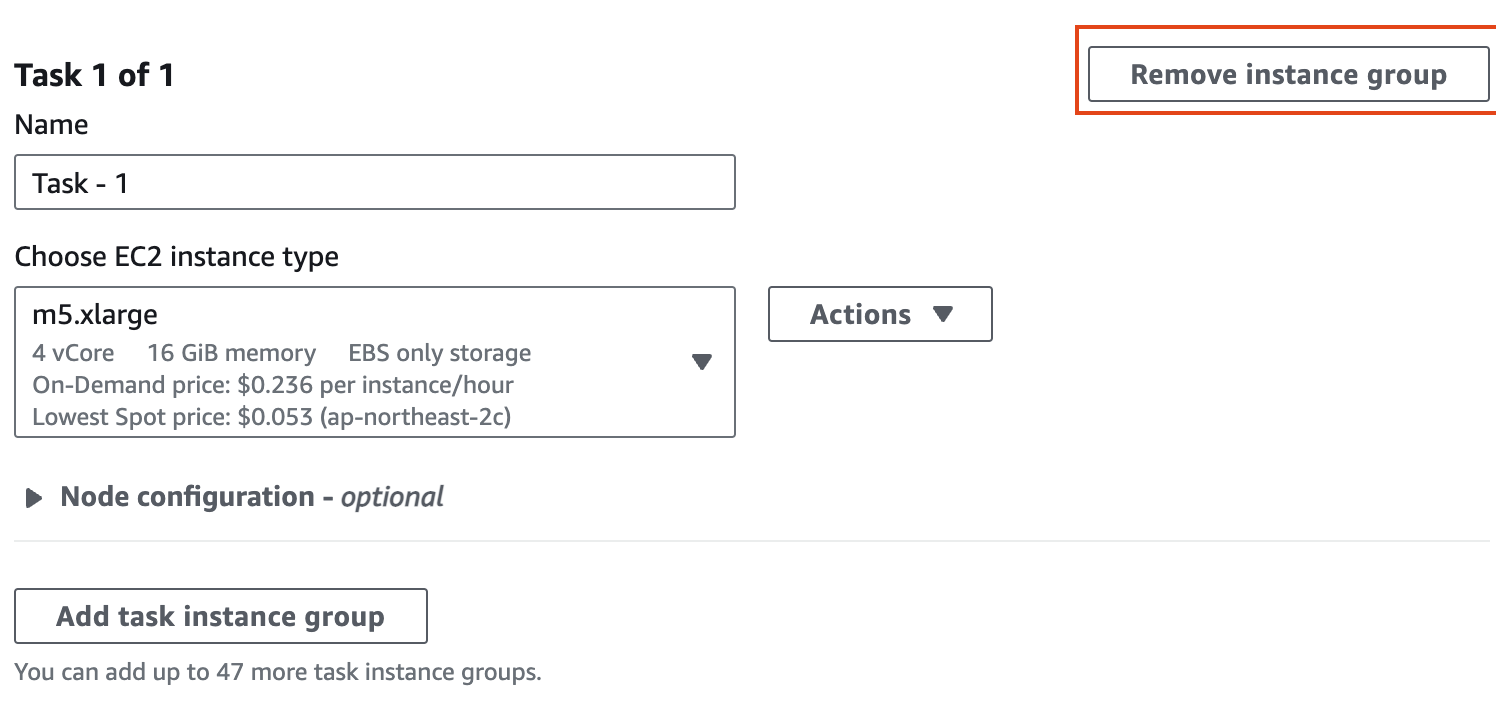
인스턴스 그룹에서 기본의 경우 m5d.4xlarge(스토리지 추가)를 선택하고, 코어의 경우 m5.4xlarge를 선택한 후 작업 노드를 제거합니다(작업 노드는 작업 실행에만 사용되며 HDFS에 데이터를 저장하지 않습니다).
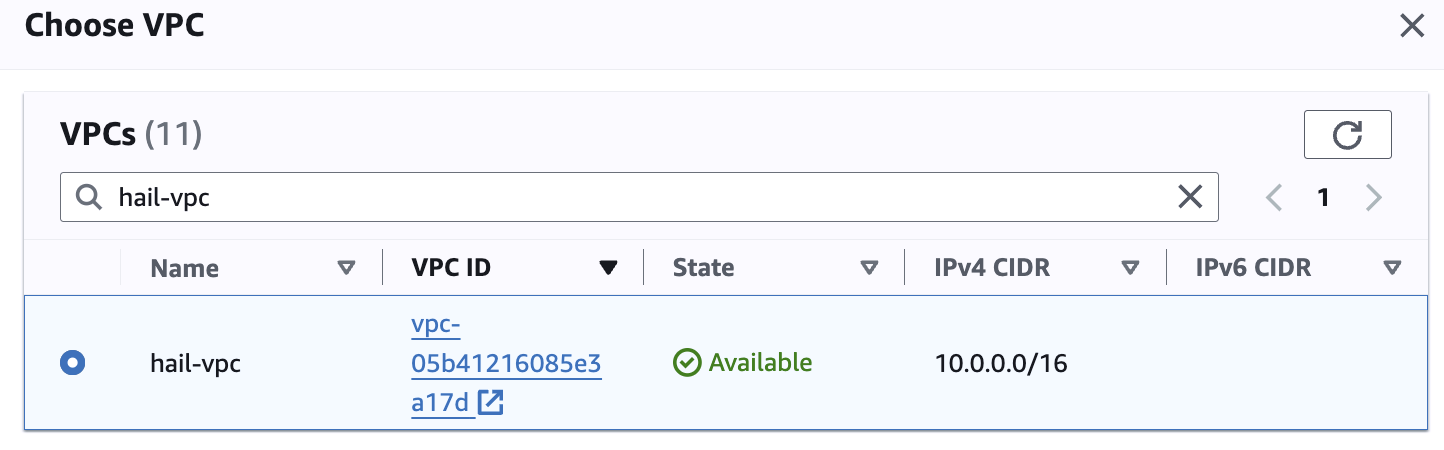
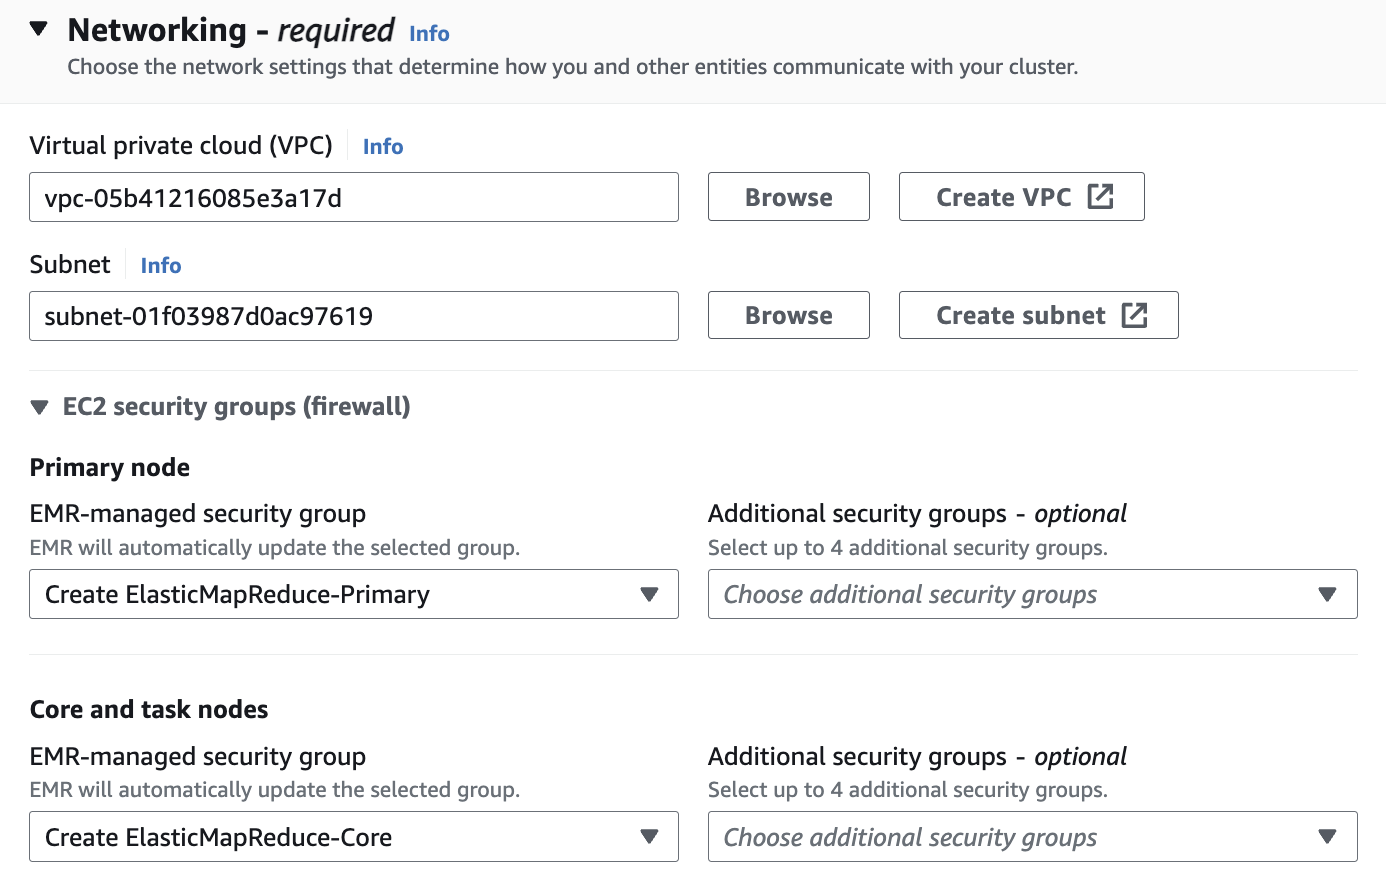
Networking
Networking 설정에서 vpc는 앞에서 만들었던 hail-vpc에 해당하는 VPC ID 를 선택합니다.
Stack을 이용해 Networking을 구성했다면 EMR-Dev-Exp-VPC 라는 이름의 VPC를 선택해야 할 수도 있습니다.
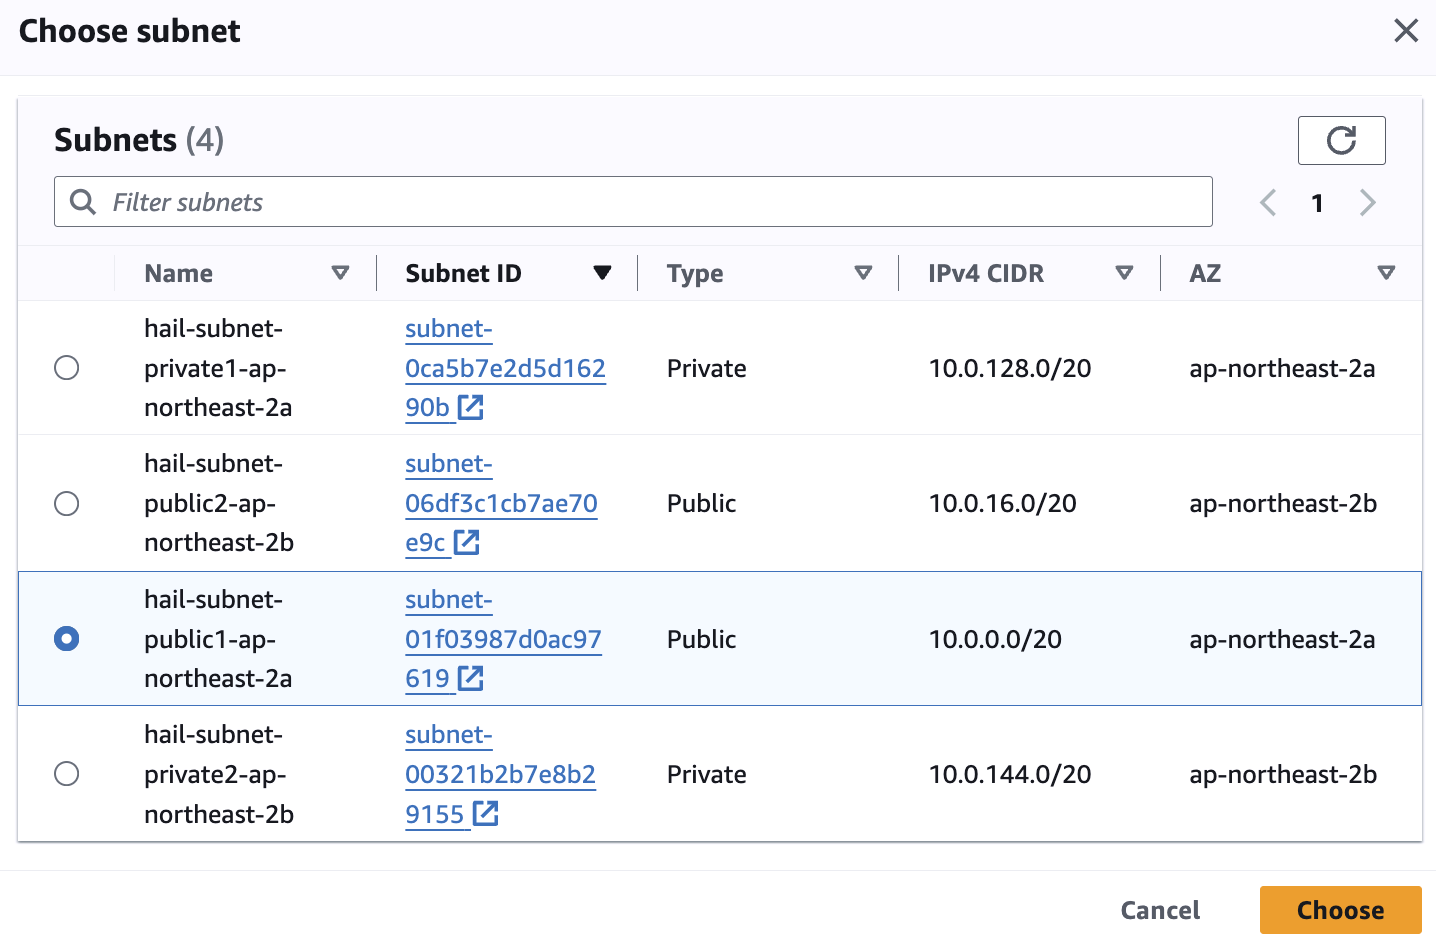
Subnet은 public 중에 선택합니다.
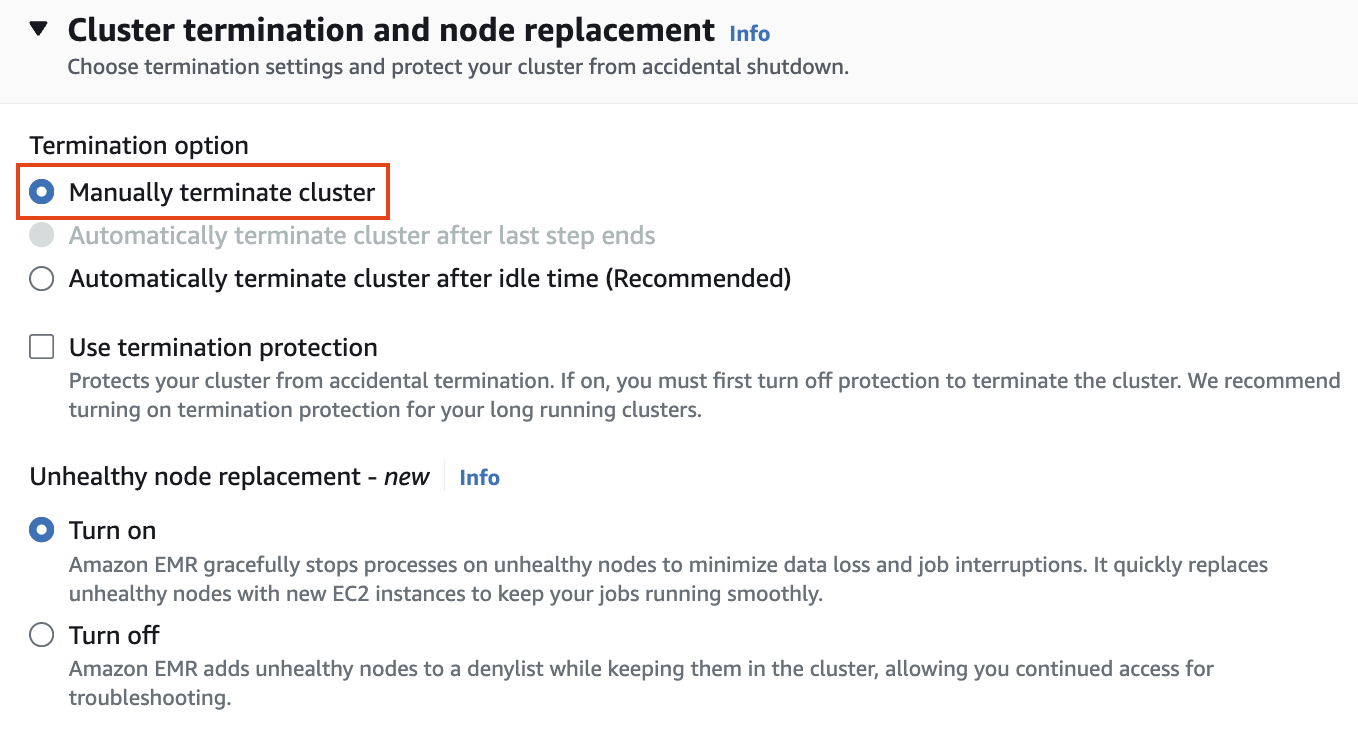
Cluster termination and node replacement
Cluster termination and node replacement 설정에서> Termination
option에서 Manually terminate cluster 를 선택합니다.
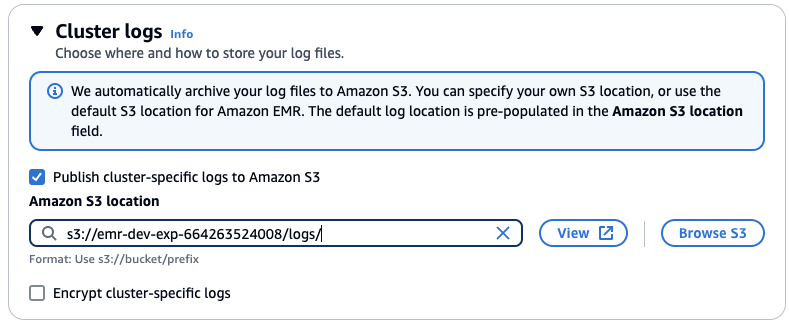
Cluster logs
클러스터 로그 설정에서 클러스터별 로그를 Amazon S3에 게시를 선택한 다음 S3 찾아보기를 클릭합니다. "emr-dev-exp-xxxxx"가 있는 버킷을 선택하고 /logs/ 접미사를 추가합니다.
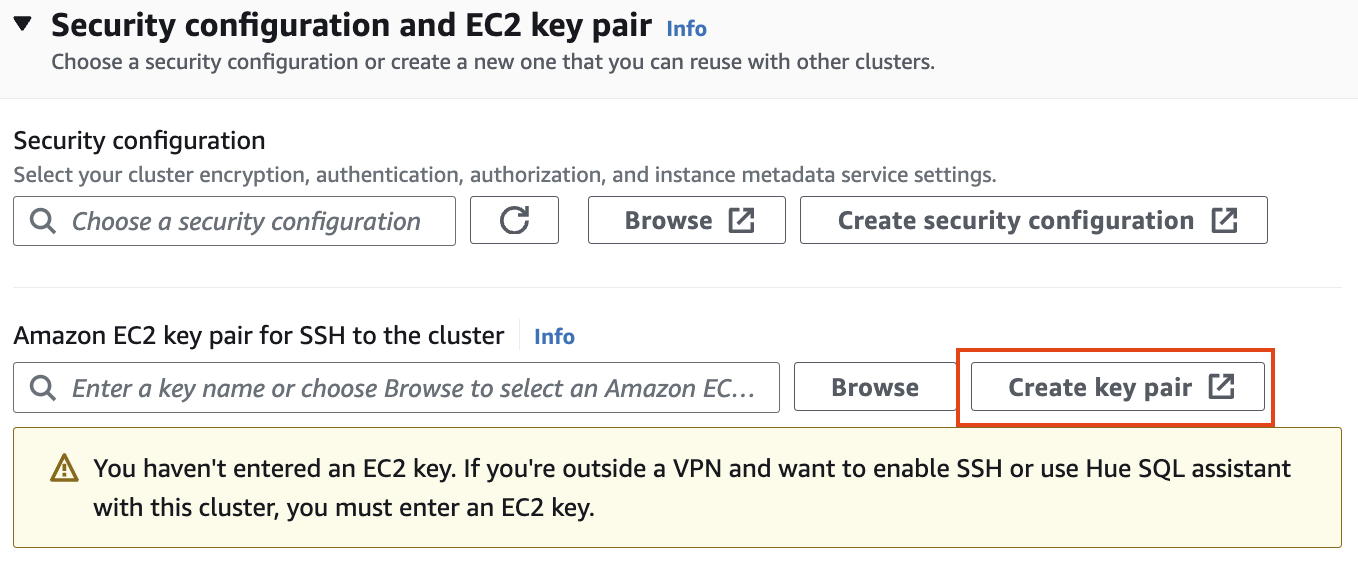
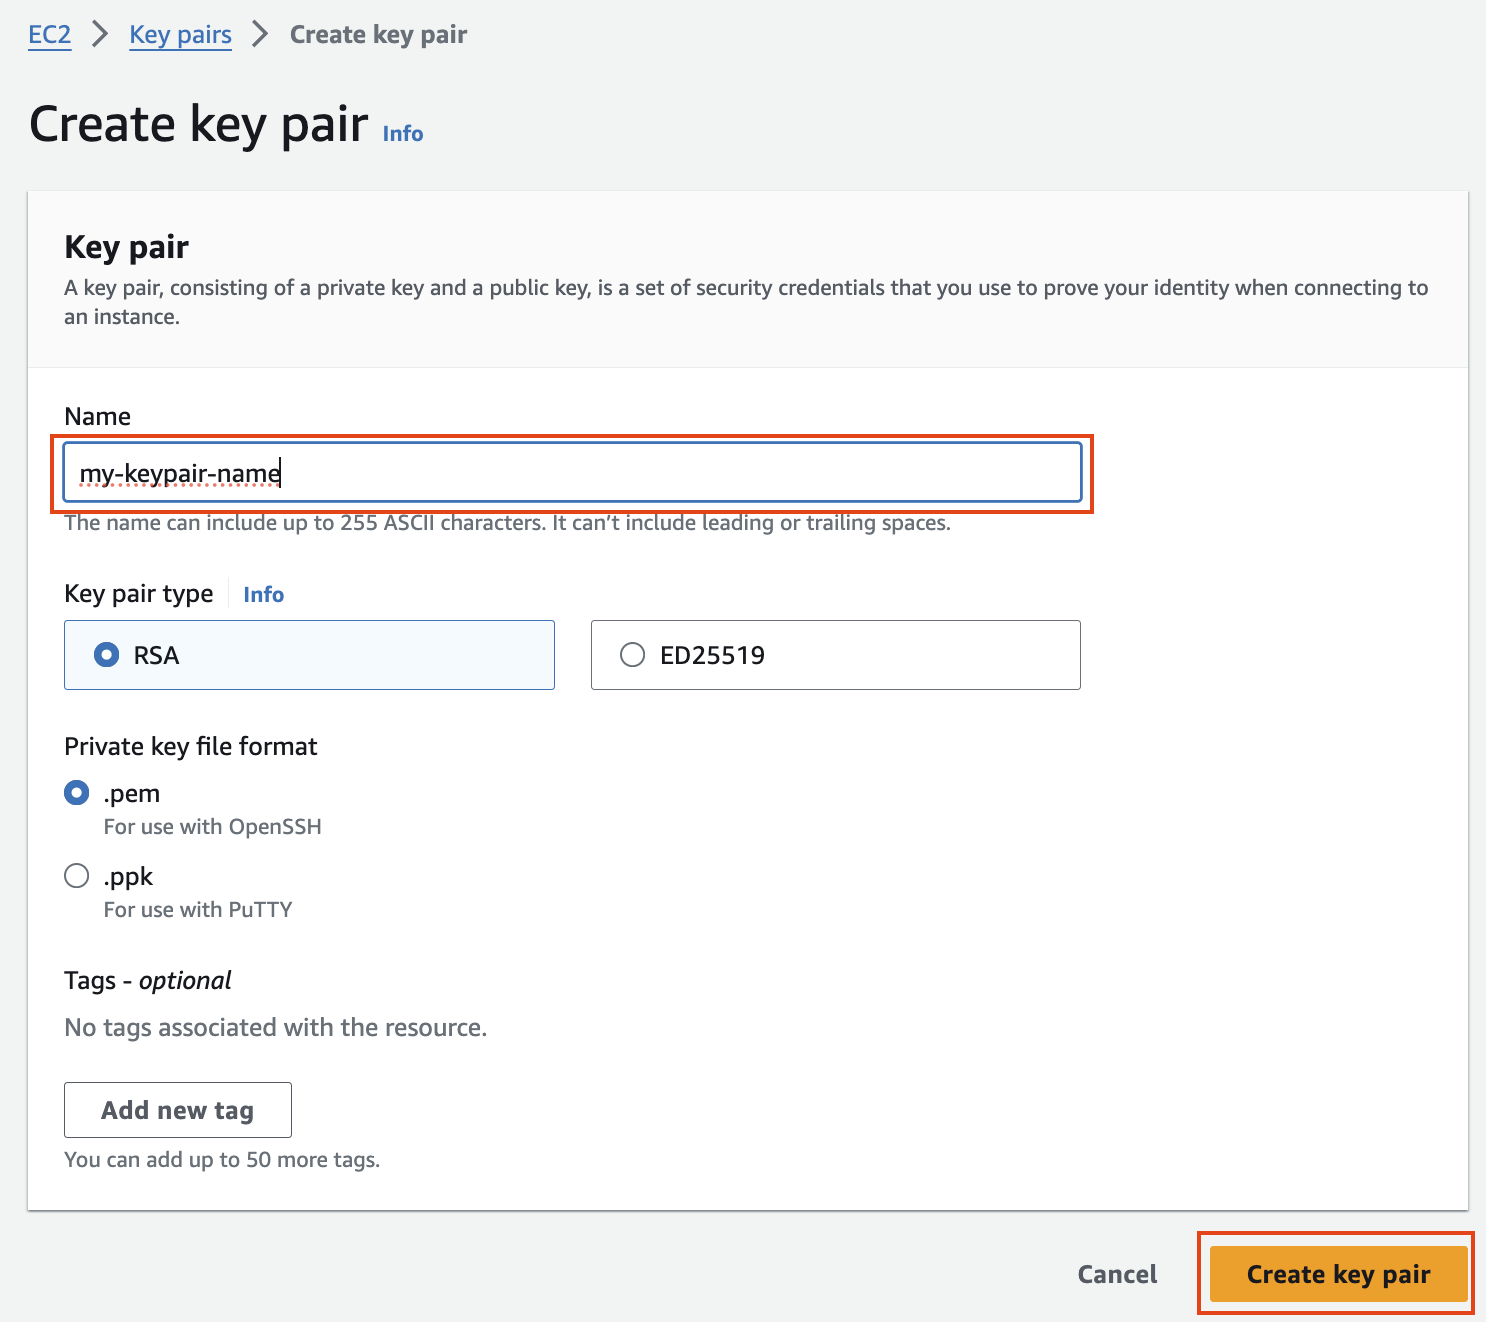
Security configuration and EC2 key pair
보안 구성 및 EC2 키 쌍에서 키 쌍을 만들고 ssh용 .pem 키 파일을 저장합니다.
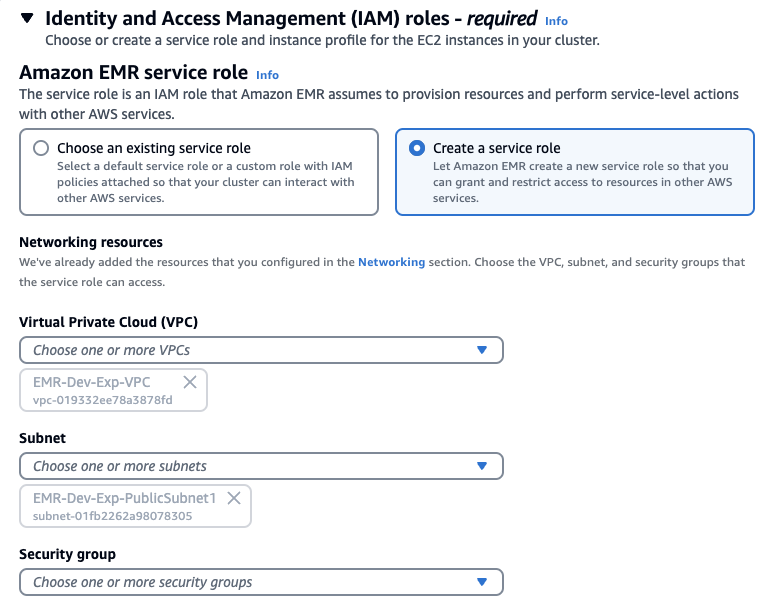
Identity and Access Management (IAM) roles
ID 및 액세스 관리 역할에서 서비스 역할 및 인스턴스 프로필 만들기를 선택합할 수도 있습니다.
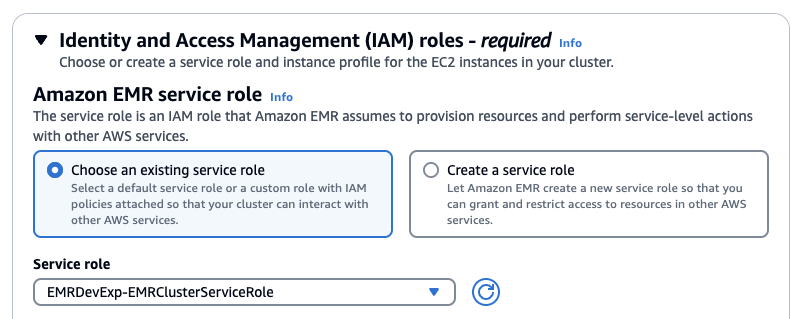
Stack을 사용햇다면 아래처럼 기존에 존재하는 Role을 선택하고 EMRDevExp-EMRClusterServiceRole을 선택합니다. 마찬가지로 EC2 instance profile에 대해서도 스택에 의해 만들어져있는 EMRDevExp-EMR_EC2_Restricted_Role을 선택합니다.

클러스터 생성 확인
다음과 같이 EMR 클러스터 생성을 확인합니다.
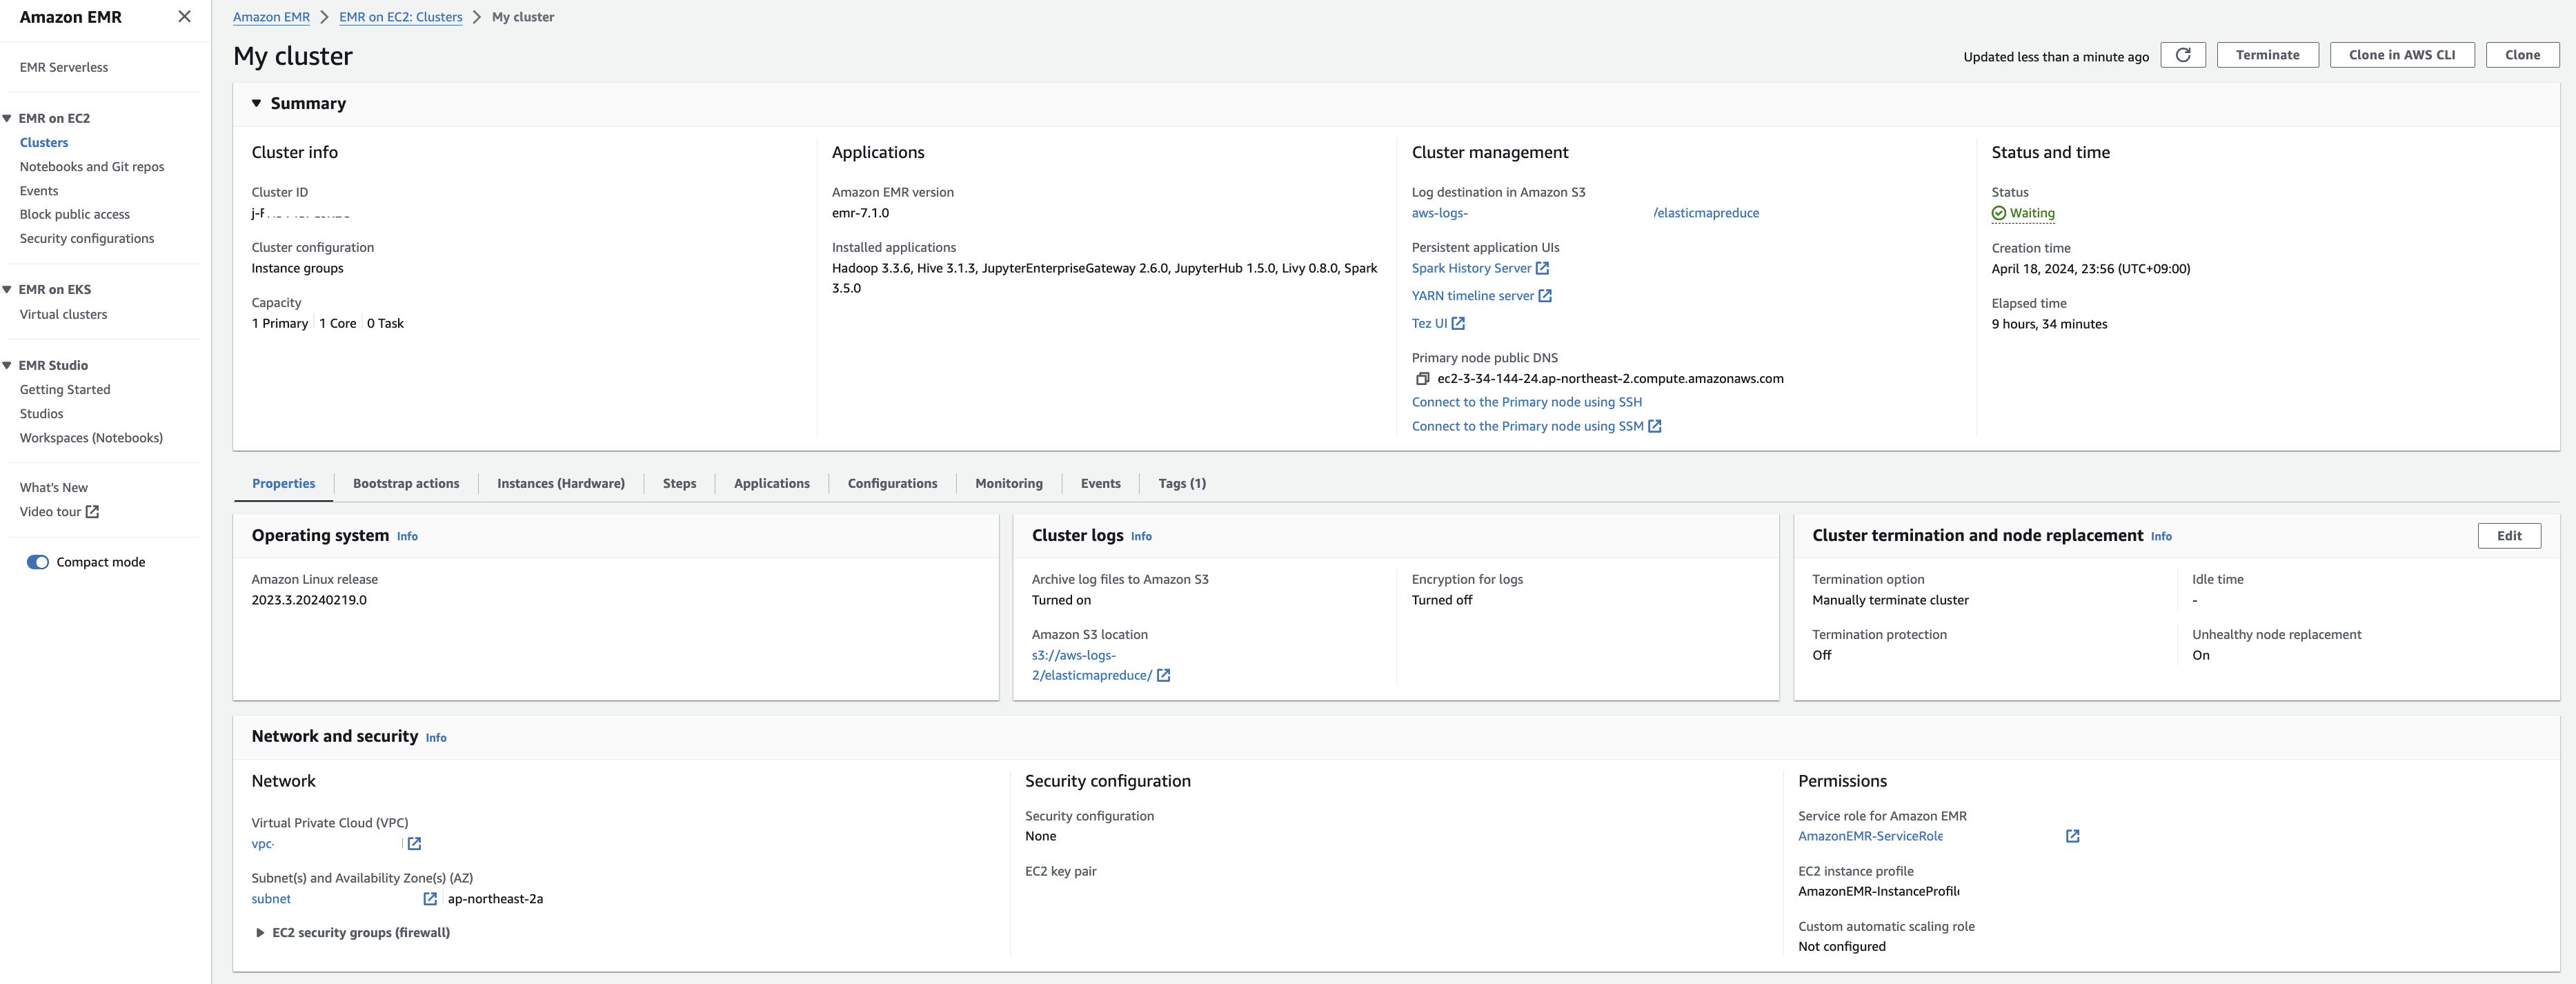
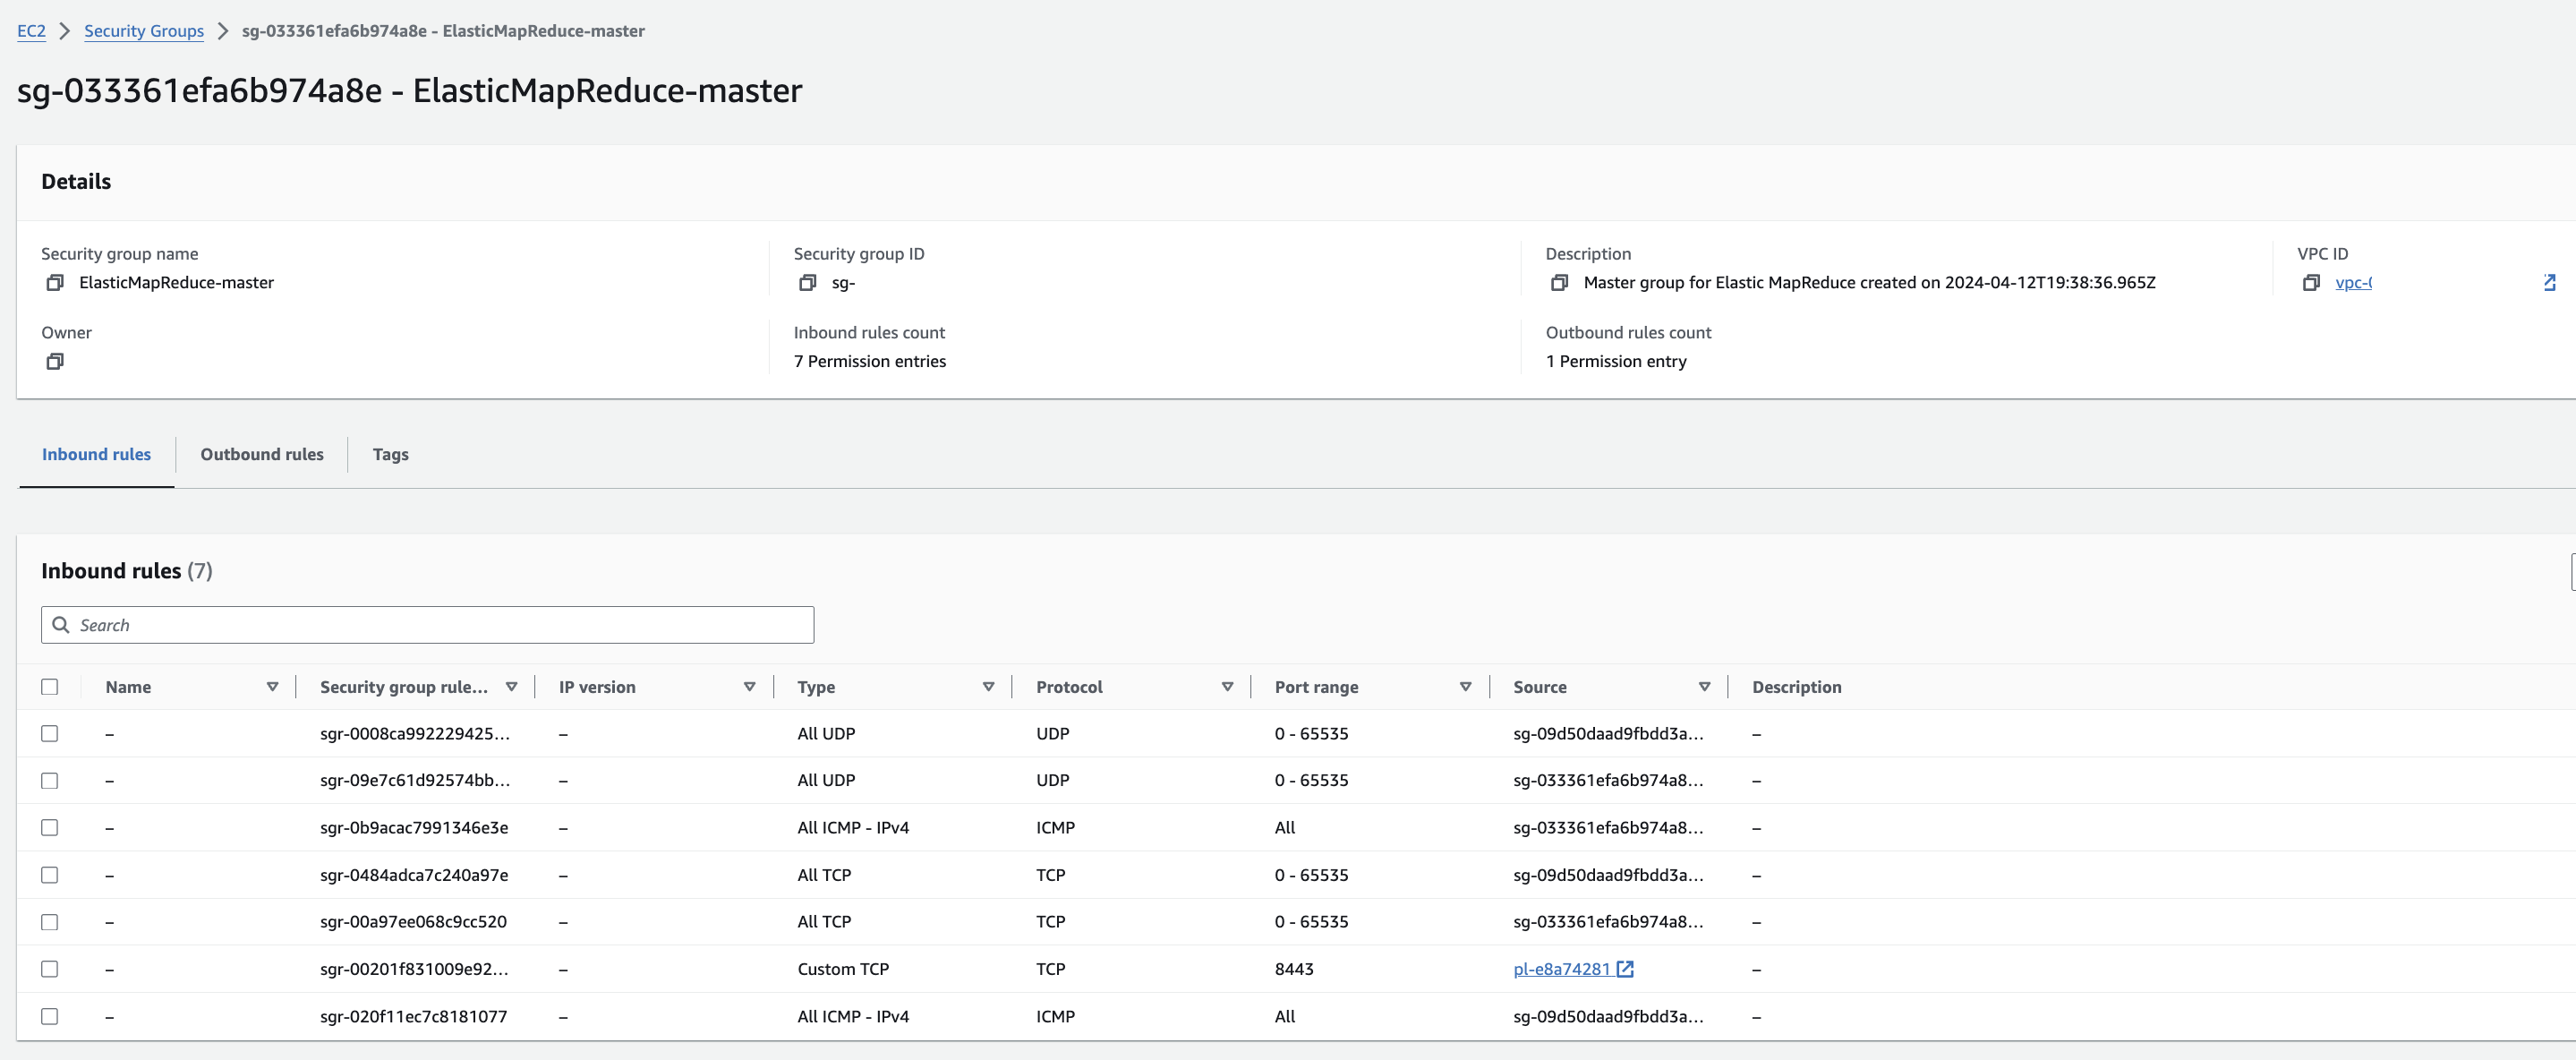
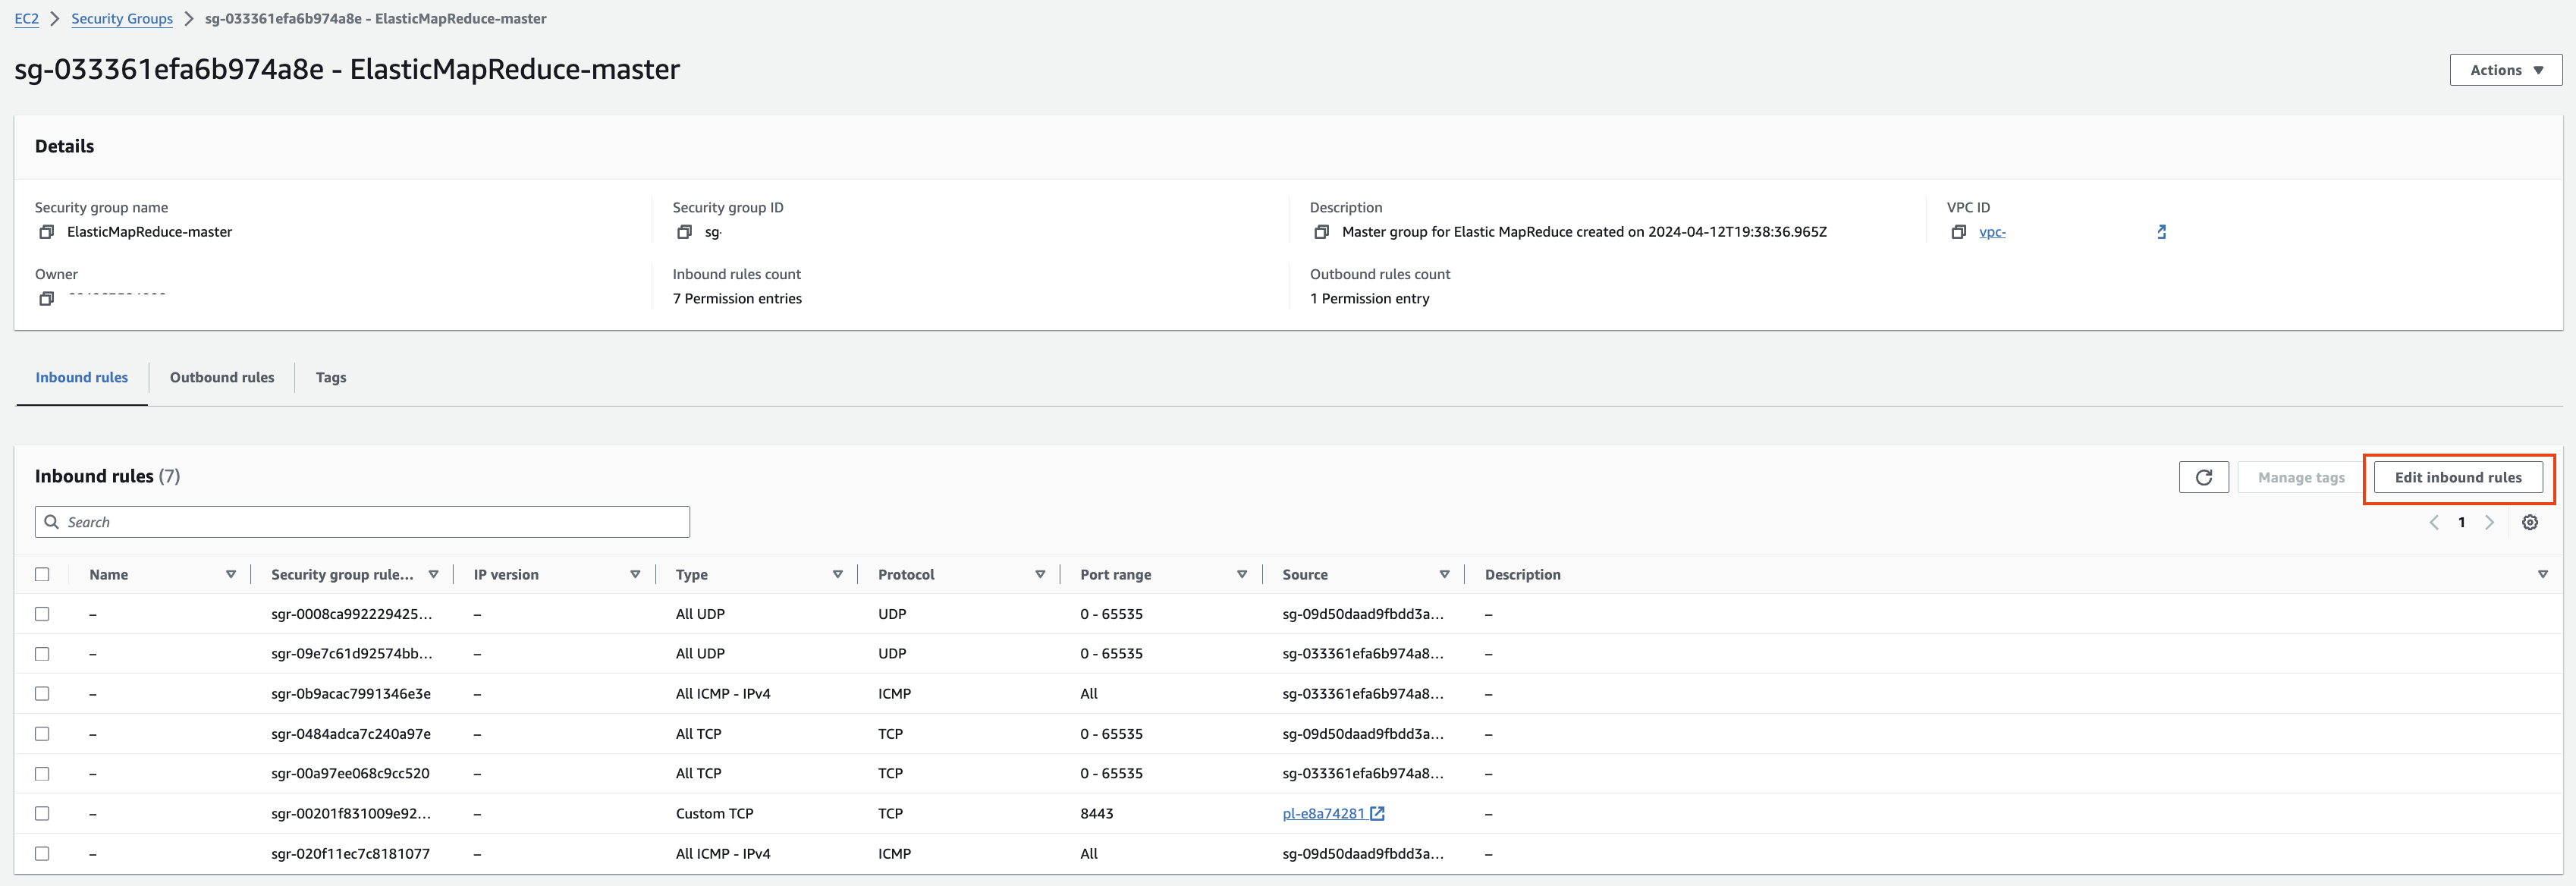
EMR-master 에 대한 Security group 확인을 해봅니다. Edit inbound rules를 눌러 ssh 로 접속할 수 있도록 룰을 추가합니다.
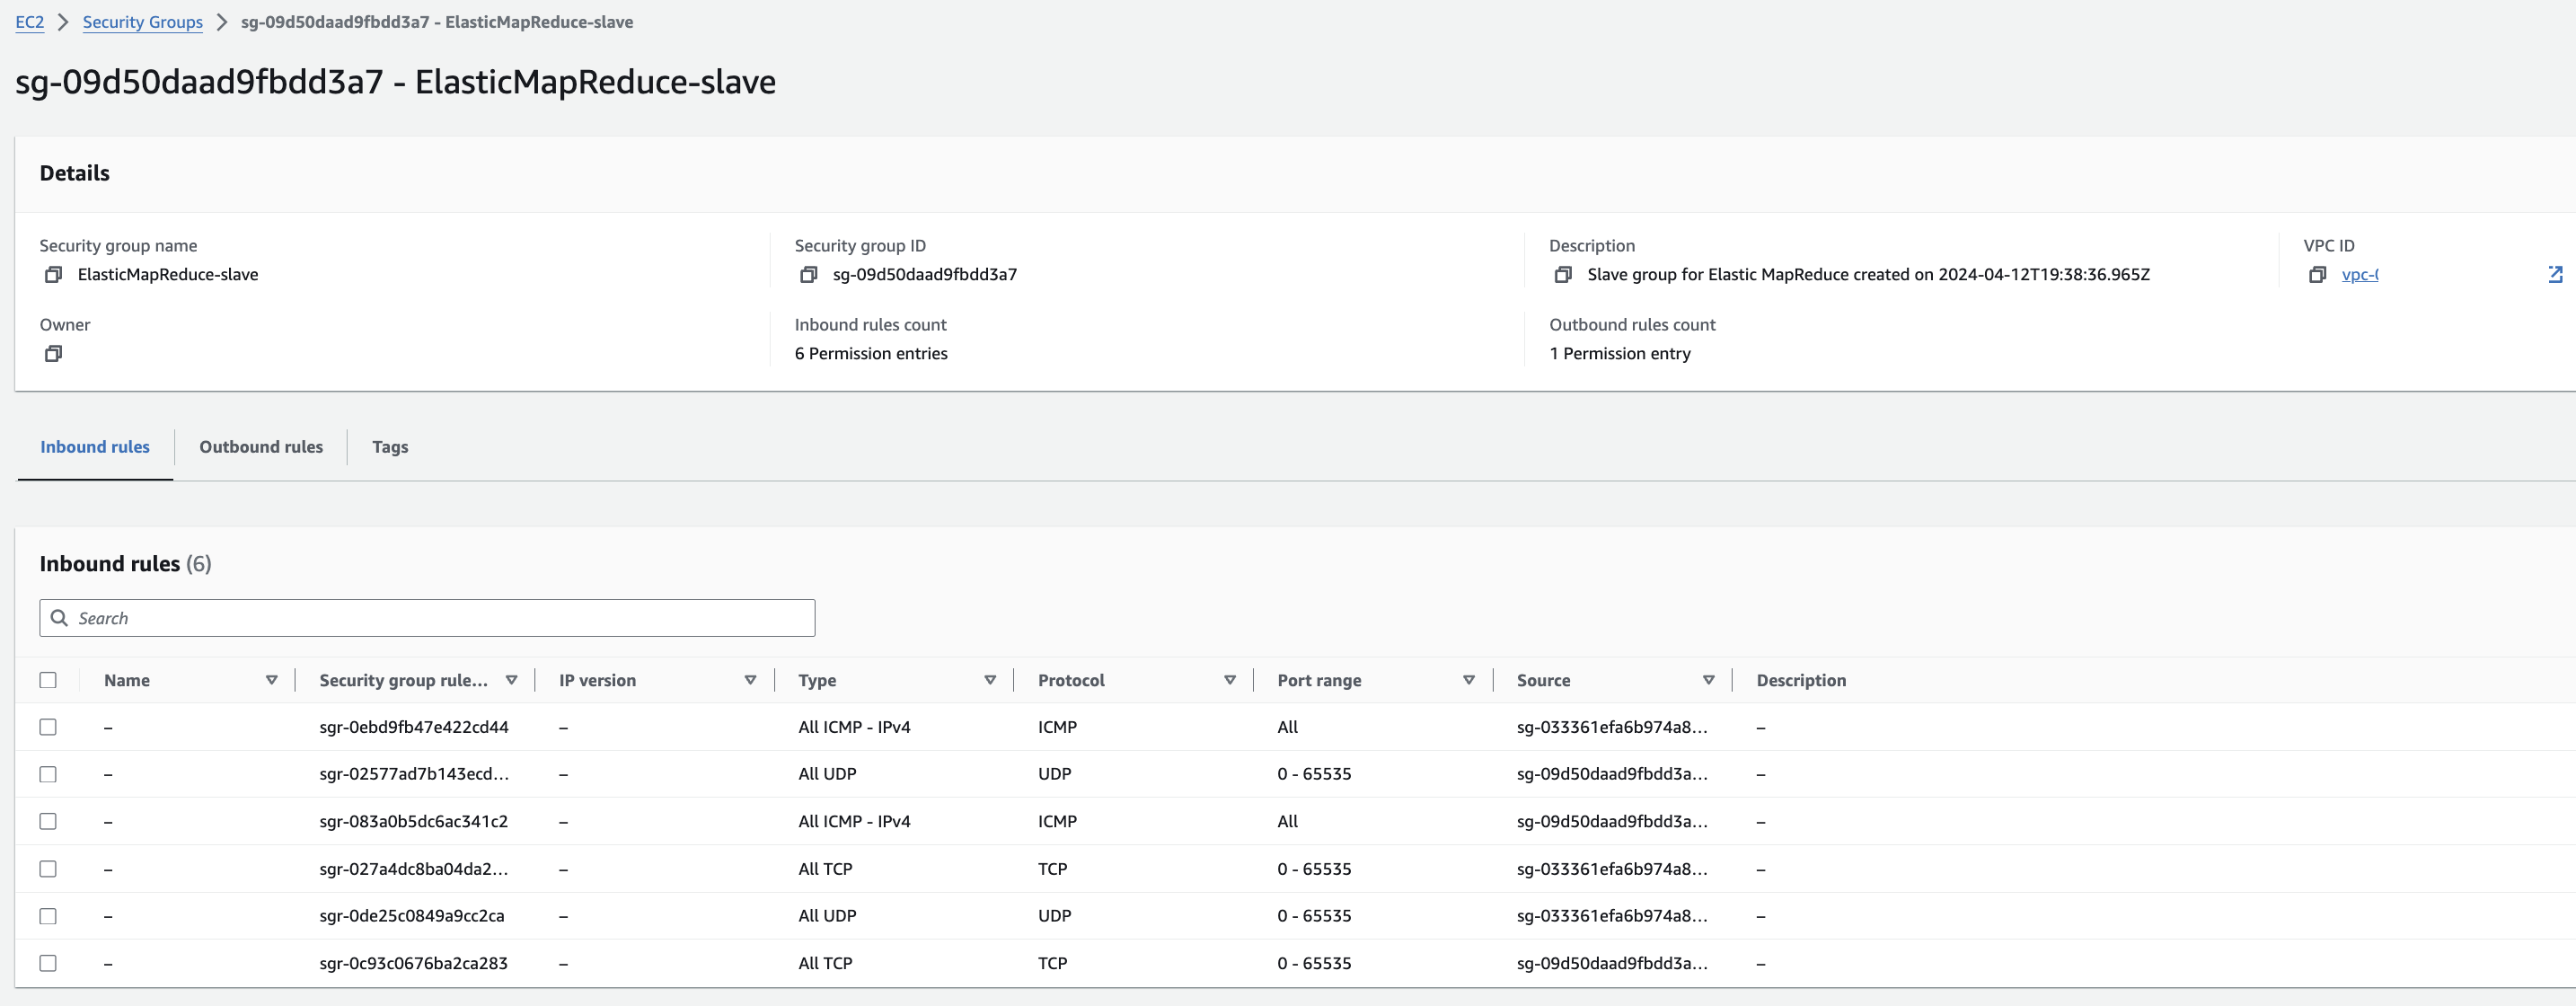
EMR-slave에 대한 Security group 확인
Installing & Running Hail on Primary Node
cluster 접속
aws emr ssh --cluster-id <cluster-id> --key-pair-file <path to pem>hail 설치 (참고)
sudo yum install git lz4 lz4-devel openblas-devel lapack-devel
git clone https://github.com/hail-is/hail.git
cd hail/hail
export JAVA_HOME=/usr/lib/jvm/java-1.8.0-amazon-corretto
export PATH=$PATH:/home/hadoop/.local/bin
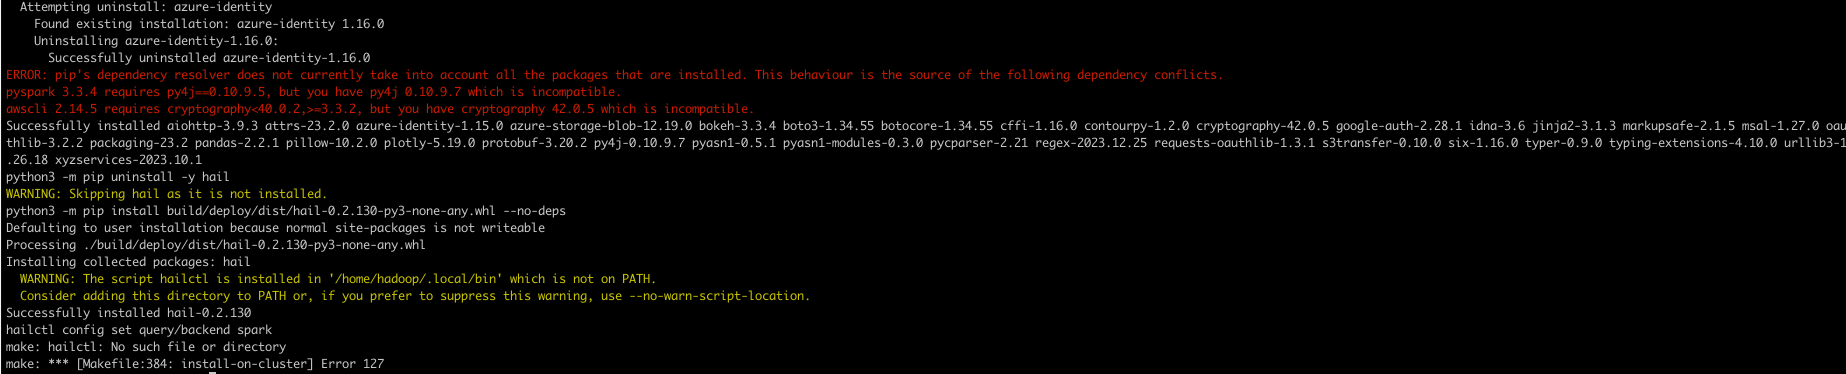
make install-on-cluster HAIL_COMPILE_NATIVES=1 SCALA_VERSION=2.12.18 SPARK_VERSION=3.5.0hail test (참고)
import hail
mt = hail.balding_nichols_model(n_populations=3,
                              n_samples=10,
                              n_variants=100)
mt.show()
Running with Spark (중요)
from pyspark.sql import SparkSession
import hail as hail
hail_dir = "/home/hadoop/.local/lib/python3.9/site-packages/hail" # Edit the path accordingly.

spark = SparkSession.builder \
    .config("spark.jars", f"{hail_dir}/backend/hail-all-spark.jar") \
    .config("spark.driver.extraClassPath", f"{hail_dir}/backend/hail-all-spark.jar") \
    .config("spark.executor.extraClassPath", "./hail-all-spark.jar") \
    .config("spark.kryo.registrator", "is.hail.kryo.HailKryoRegistrator") \
    .config("spark.serializer", "org.apache.spark.serializer.KryoSerializer") \
    .getOrCreate()


hail.init(spark.sparkContext)


#hail.stop() #if previous session is still open
참고 링크
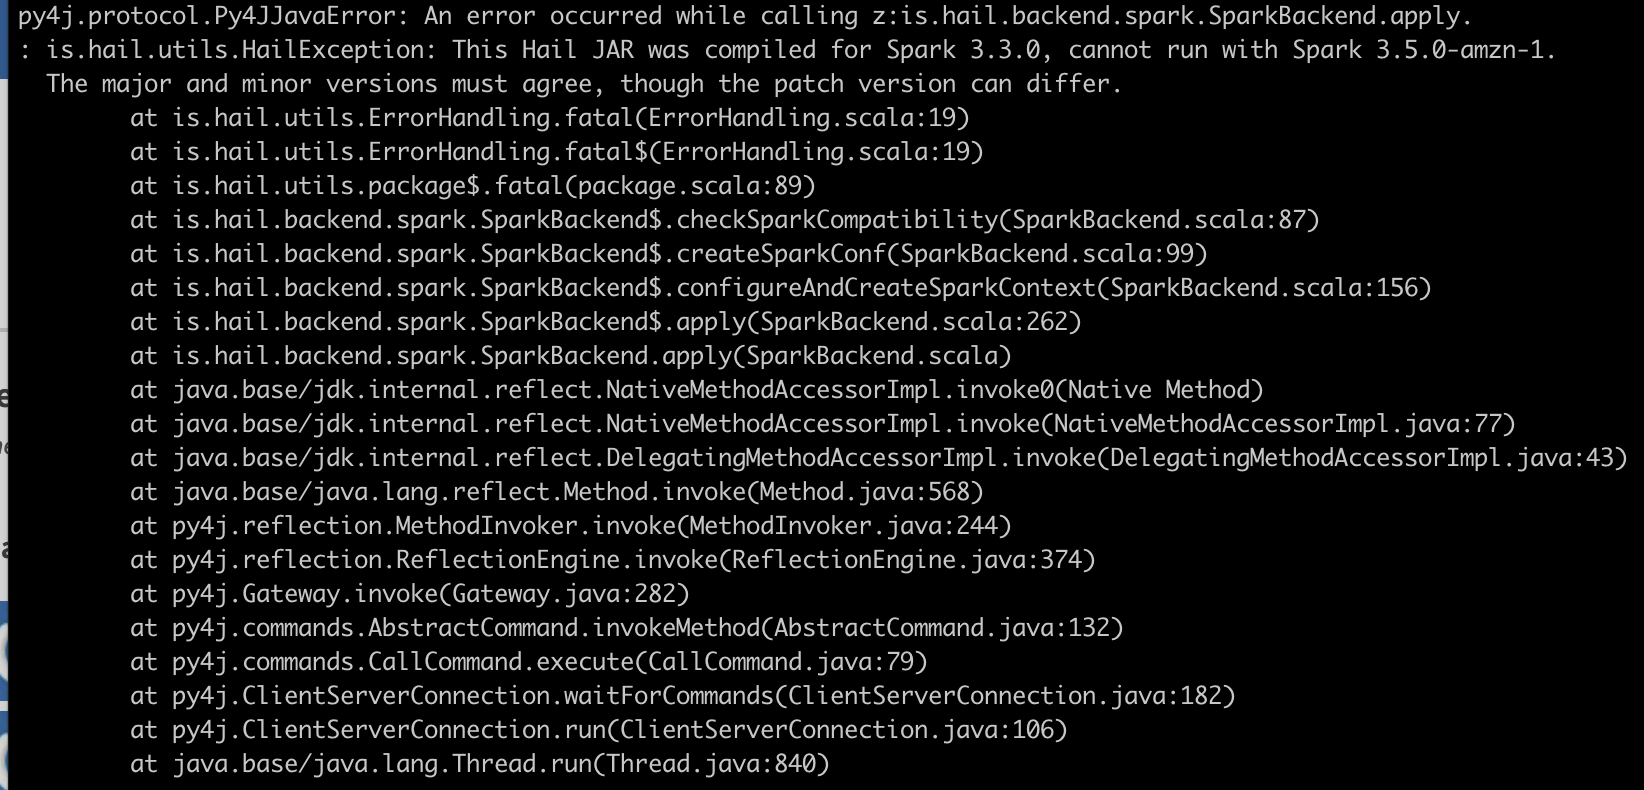
트러블 슈팅
py4j.protocol.Py4JJavaError: An error occurred while calling z:is.hail.backend.spark.SparkBackend.apply.
: is.hail.utils.HailException: This Hail JAR was compiled for Spark 3.3.0, cannot run with Spark 3.5.0-amzn-1.
The major and minor versions must agree, though the patch version can differ.
export JAVA_HOME
export PATH=$PATH:/home/hadoop/.local/bin